
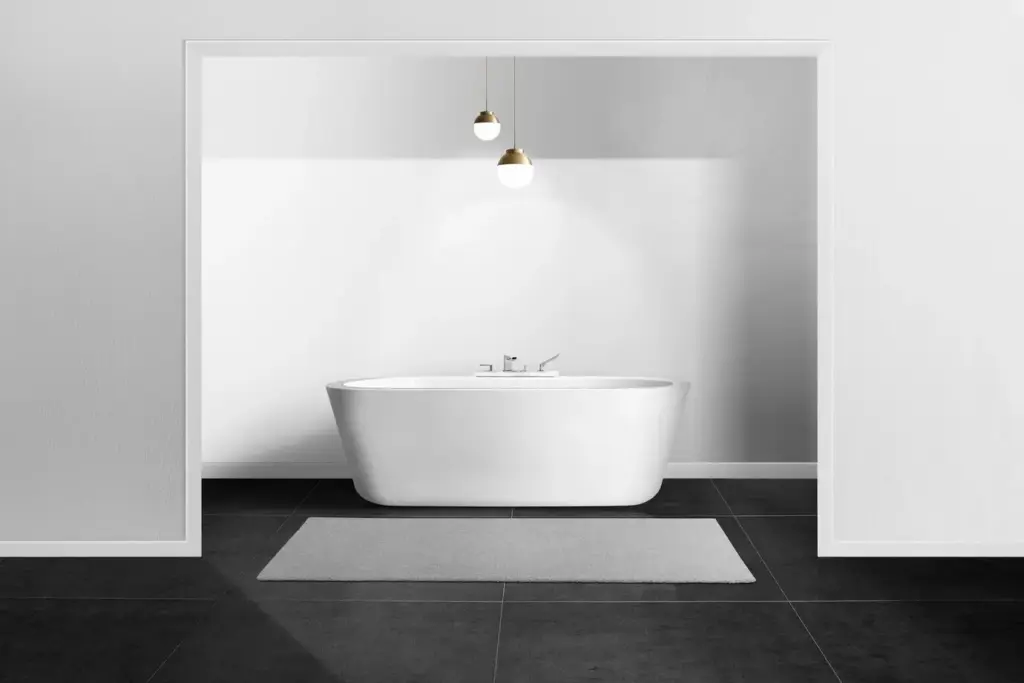
Set the Stage for a Flawless Tub Upgrade
Mapping Your Water Pathways

Locating Shutoffs and the Main
Rough-In Measurements That Matter
Drain, Vent, and Slope

Strength Beneath: Subfloor Readiness

Setting the Ledger
Mortar Bed Magic
Fine-Tuning with Shims
Level, Plumb, and Ready for the Shell
Solvent Weld Like a Pro
For PVC or ABS, deburr, dry-fit, and alignment-mark the fittings. Prime where required, apply uniform cement, and push fully with a quarter-turn to evenly spread solvent. Hold briefly to prevent push-back. Wipe excess and keep joints still during set time. These small habits deliver joints that resist stress, vibration, and temperature swings better than hurried guesswork ever could.
Quiet, Reliable Supplies
Support copper or PEX every recommended interval, avoiding noisy contact with studs. For copper, sweat with clean fittings and proper flux, or use approved press systems for speed. For PEX, use expansion or crimp fittings per manufacturer. Add water hammer arrestors near quick-closing valves, and choose braided stainless connectors to trims so future maintenance is convenient and confidently drip-free.
Pressure and Drain Testing
Cap or plug, then pressurize supply lines to check for slow weeps. For drains, plug the waste and overflow, fill the tub, and watch all joints for sustained minutes. Tissue under connections reveals sneaky damp spots. Only when everything stays bone dry should walls close. A careful test today beats discovering stains on the ceiling below next month.
Seal, Guard, and Waterproof the Perimeter
Flange Integration Done Right
Notch studs or use furring strips so cement board clears the flange without bulging. Fasten the board above the flange line, leaving a small gap that will be sealed later. Where manufacturers allow, use compatible flashing tape or membrane bridging over the flange. These unobtrusive layers guide stray water back into the tub, not toward framing and regret.
Smart Membranes and Backer Choices
Choose cement board or fiber-cement rather than paper-faced drywall in wet areas. If using a liquid-applied membrane, respect cure times and apply multiple coats to achieve specified mil thickness. Sheet membranes simplify thickness control but demand crisp corners and overlaps. Decide on either a moisture barrier behind or a surface membrane, not both, to prevent confusing moisture traps.

Code Essentials You Should Know

Safety Habits That Save Backs and Floors

Your Voice Matters: Share and Learn


All Rights Reserved.